Create and Maintain Tags
When you create a new case on GoldFynch the following tags Privileged, Non-Responsive, Irrelevant, and Confidential are set up by default. Any other tags that you wish to create can be easily set up from the Tag View screen. You can also set up and update tag preferences, rename tags, delete tags, create document kits, and generate tag reports from this screen.
NOTE: Tags can be created, edited, and deleted by accounts with the 'User' permission level and higher. Reviewer accounts can add and remove tags from files.
Creating tags from the 'Tags' view
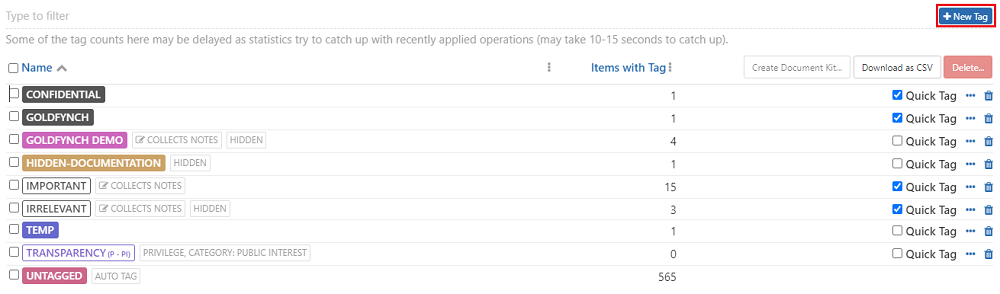
Step 1. Navigate to the 'Tags' view by clicking on the button in the left pane
Step 2. Click the + New Tag button below the search bar
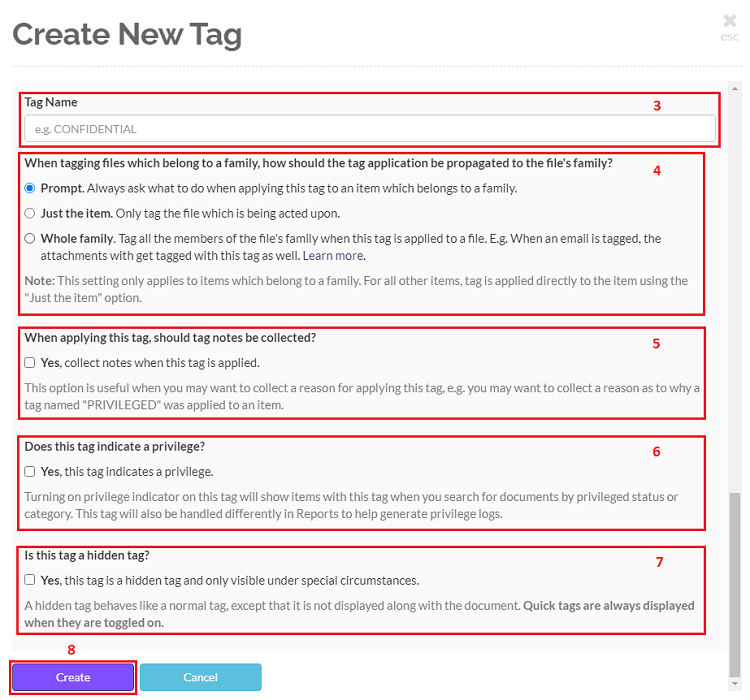
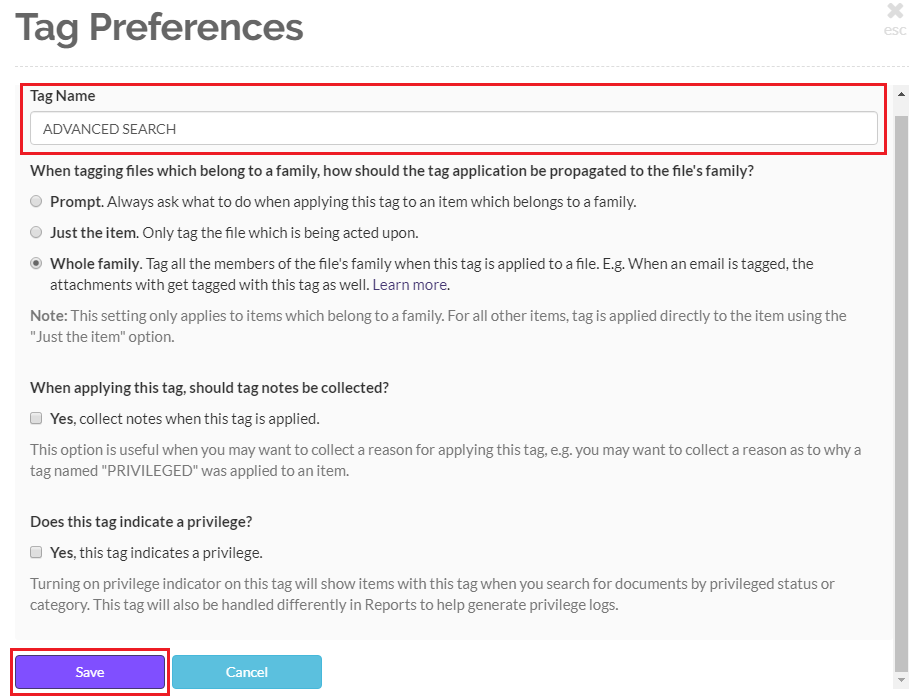
Step 3. Enter the tag name
Note: As you enter the tag name it will be checked to see that it is a unique name for the case. If the name is valid the message Name looks good will be displayed below the textbox else the corresponding error message will be displayed
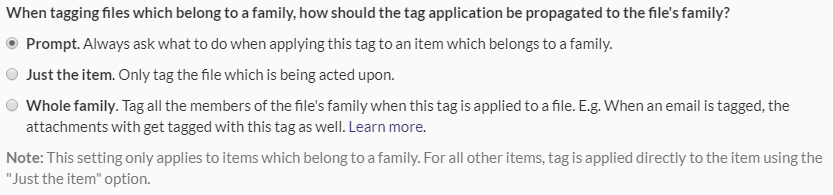
Step 4. Select how you would like the tag to be propagated when tagging files that belong to a family. The options provided are -
- Prompt every time
- Apply the tag to just one item
- Tag the whole family
Step 5. Choose if you would like to collect notes when the tag is applied. If this is set to 'Yes', then you can choose to make the collection of notes mandatory for this tag and the tag will not be applied unless a note is entered. Notes are useful to collect the reason for the application of a specific tag.

Click here to learn more about tag application notes
Step 6. Choose if you would like this tag to be a privilege tag. If the checkbox is selected then you will be prompted to enter a privilege-category. Privilege tags can be used to generate privilege logs and they are handled differently in Reports.
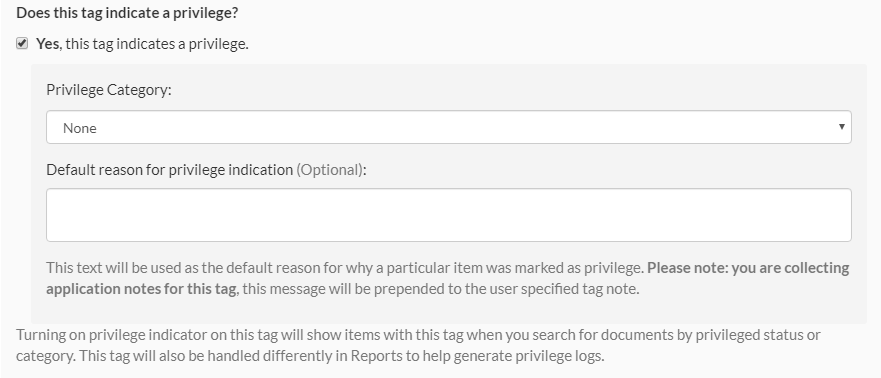
Learn more about privilege tags
Step 7. Choose if you would like this tag to be a hidden tag. If the checkbox is selected, then this tag will not be visible against any file that it is attached to in the Doc view, files view, or search results page.

Step 8. Click on the Create button at the bottom of the Create New Tag overlay. Your tag will now be listed in the 'Tags' view.
Editing and Renaming existing tags
Step 1. Navigate to the 'Tags' view by clicking on the button in the left pane
Step 2. Click on the ... button against the tag you wish to edit or rename
Step 3. Make the changes you want by selecting different settings or editing values as described above under tag creation.
- To rename a tag, type the new name you wish to give the tag into the 'Tag Name' box
Note: The tag name is validated as you type it and any error in the name is displayed in the textbox below. If the tag name is valid then the message Name looks good is displayed below the textbox
Step 4. Click on the Save button
Deleting tags
You can delete tags individually or in bulk.
To delete tags individually you need to follow the steps given below:
Step 1. Navigate to the 'Tags' view by clicking on the button in the left pane
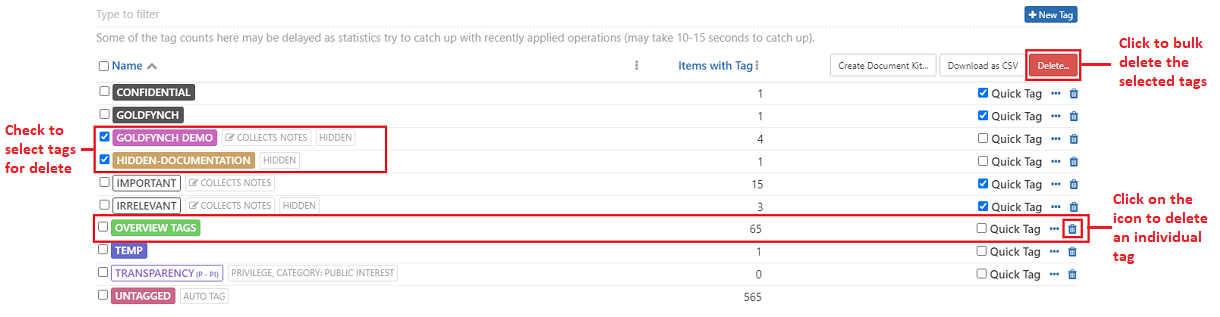
Step 2. Click the trashcan button on the far right against the tag you wish to remove completely from the case
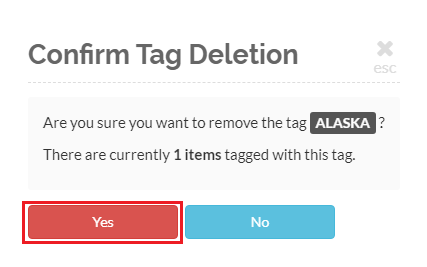
Step 3. Click on the Yes button on the delete confirmation screen overlay
To delete tags in bulk you need to:
Step 1. Check the checkbox against the tags to be deleted to select them
Step 2. Click on the Delete button in the right corner of the Tags view
Step 3. Click on the Yes button on the delete confirmation screen overlay
NOTE:
- Deleting a tag will remove also instances of it from files in the case
- System-generated tags cannot be deleted
Additional functions of the Tags view
From the tags view you can also -
- Create a document kit
- Download a tag report
Creating a Document Kit from the Tags view
You can create a document kit using all the available tags or select tags
Step 1. Check the checkbox against the tags you want to include in the document kit. To include all tags you need to click the checkbox at the top of the tag listing
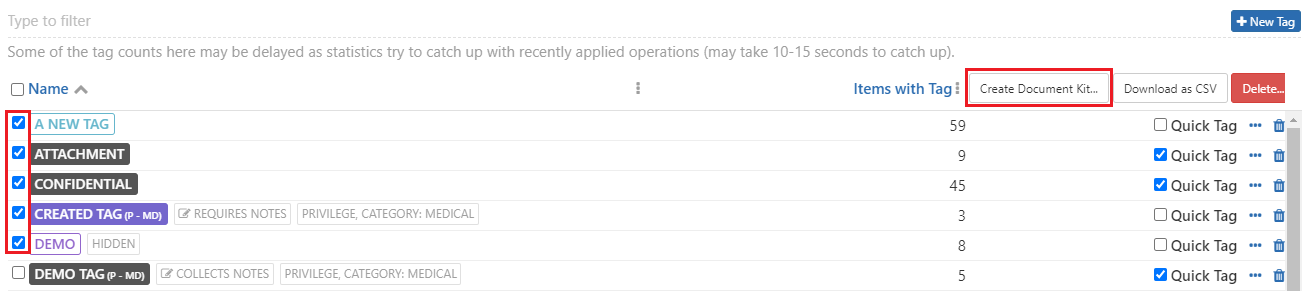
Step 2. Click on the Create Document Kit button
Step 3. Enter a name for the document kit
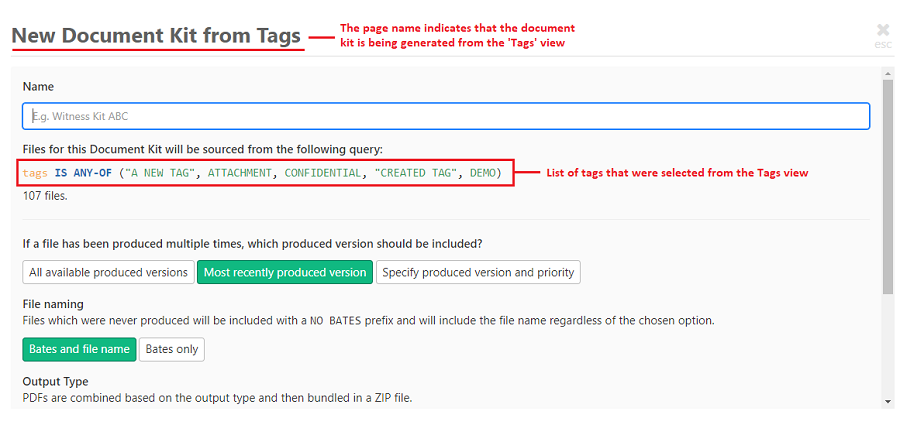
Step 4. Select the production version to be included
Step 5. Select the file naming convention to be used
Step 6. Select the Output type to be used
Step 7. Click on Create
Click here to learn more about Document Kits
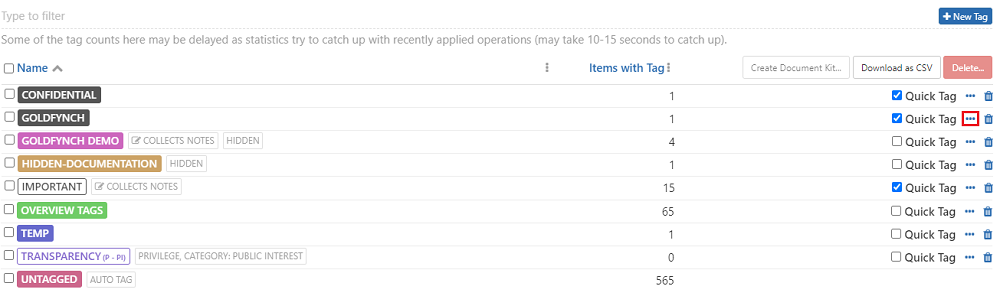
Download a tag report
This function lets you download a report of all the tags in your case or even a specific set of tags. The tag report contains the following information -
- Tag Name
- Is it a quick tag
- Is it a privilege tag
- Privilege category
- Is it a system tag
- Number of files the tag has been attached to
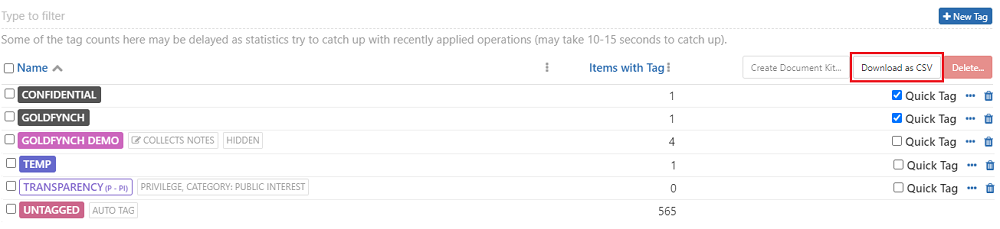
To download a report of all the tags in your case
Click on the Download as CSV button at the top of the tag listing
To download a report of specific tags
- Check the checkbox against the tag name to select the tags
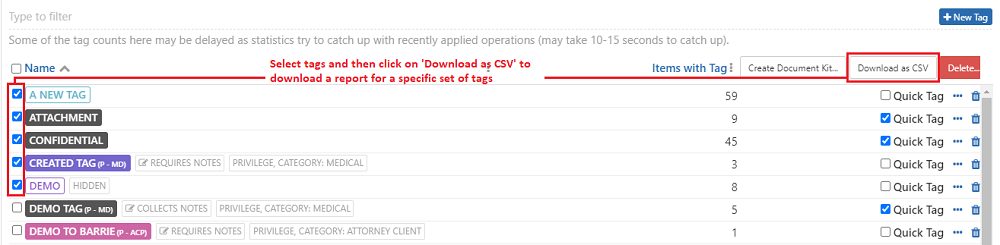
- Click on the
Download as CSVbutton