How to create a case
GoldFynch revolves around 'cases.' To upload, interact, review, and produce files, a GoldFynch case must first be created-either by you or someone else who then gives you access to the case. Read on to learn how to go about creating a case.
NOTE:
- You need a GoldFynch account to create a GoldFynch case. Learn how to sign up to GoldFynch here.
- You can add any number of cases to your GoldFynch account, but only one free, trial case. Find out more about the free, trial case here.
Step 1. Log into your GoldFynch account:
- Go to http://goldfynch.com and click on the
loginbutton in the top-right corner of your screen.
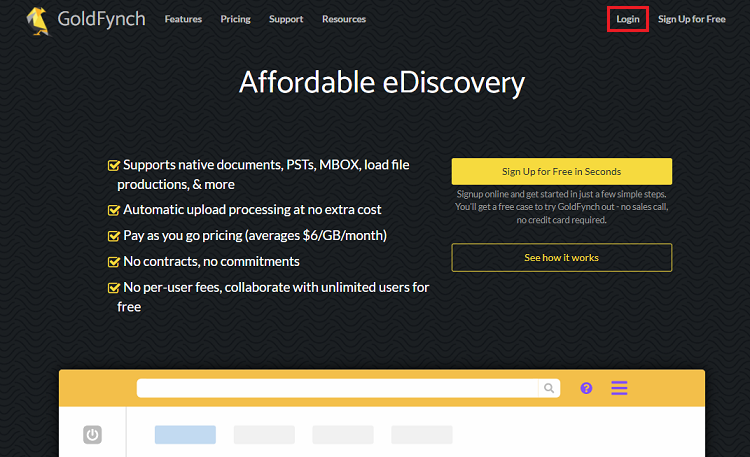
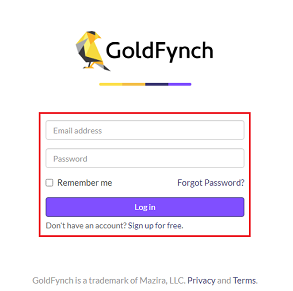
- You can also go to http://goldfynch.com/app/ and log in using your registered email address and password.
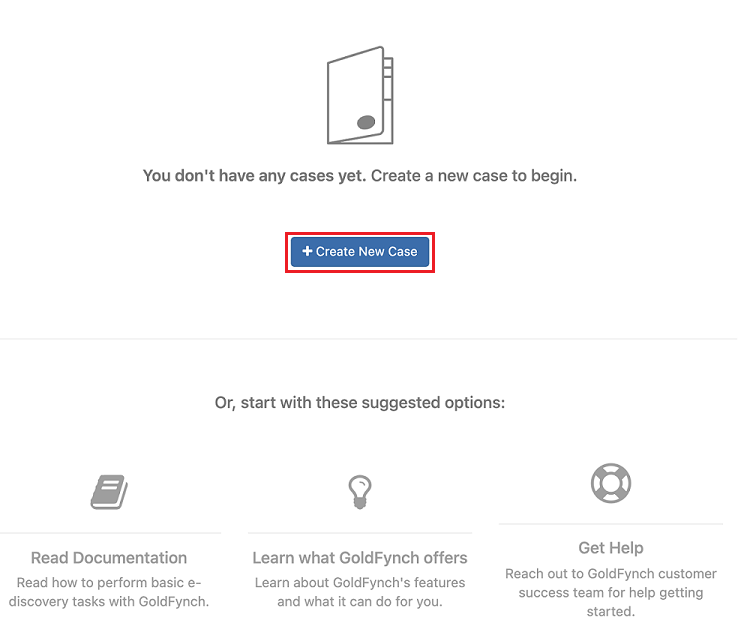
Step 2. Open the case creation screen
- If you do not have any cases linked to you GoldFynch account then click on the
+ Create New Casebutton
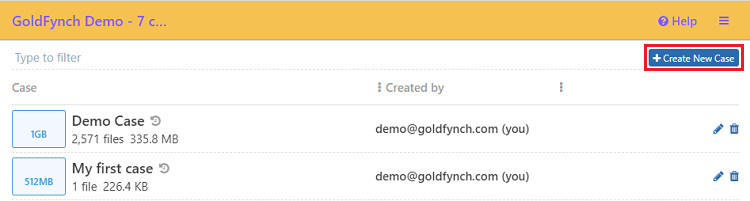
- If you have cases linked to your GoldFynch account then click on the
+Create New Casebutton in the top-right corner of your screen
Step 3. Enter a name for the case into the text box on the create new case screen
Step 4. Select a case plan by dragging the slider to the left or right.
Step 5. Choose a time zone for the case. By default it detects the local time zone from your browser.
IMPORTANT: A case's time zone cannot be changed after the case is created. However its name and case plan can be changed by the case's owner or an admin user.
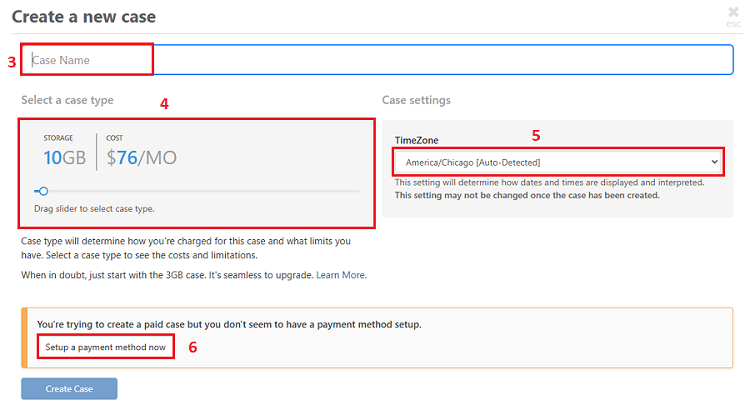
Step 6. If you have selected a premium plan but haven't set up a payment method yet, you will need to now. Click here to learn how to do so.
NOTE: This step isn't required for the free plan. To select the free plan, drag the slider to the far left.
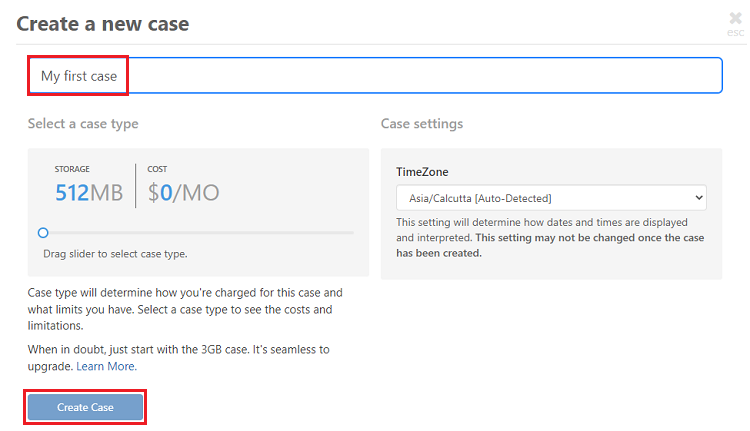
Step 7. Click on the Create Case button once you have chosen a plan, time zone and case name.
More information on case sizes and pricing can be found here.
Next Steps
Once you have created a case, you can upload files to it or request for a custom import to be done using an add-on service.