Managing payments on GoldFynch
The GoldFynch Payment Methods and Billing system are set up so that it is linked to your account as a whole. Invoices are generated for all the cases in your account based on monthly usage.
To add a credit card, follow the steps below. For other ways to manage your card, billing, and payment-related activities, scroll down to the next section about the Billing Screen
Managing credit cards from the App Settings page
Adding a credit card
Step 1. Log into your GoldFynch account
Step 2. Click on the Menu button in the top-right corner of your window
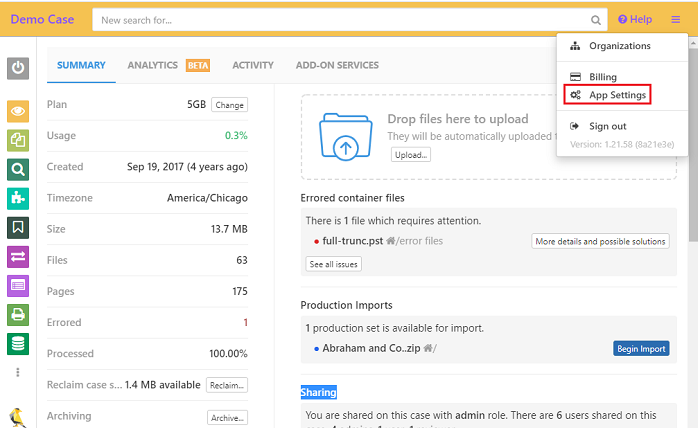
Step 3. Click on the App Settings button
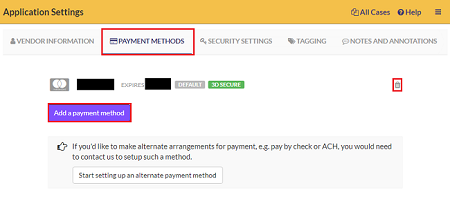
Step 4. Click on the Add a payment method button
Step 5. Enter your credit card details on the secure payment page
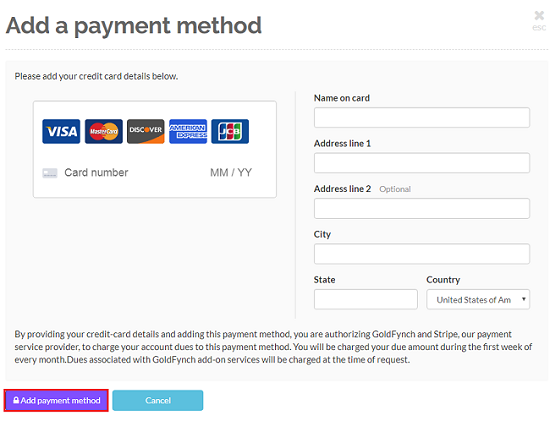
Step 6. Click on the Add payment method button at the bottom of the screen overlay
Deleting a credit card
Step 1. Navigate to the App Settings screen as described above
Step 2. Click on the Payments Tab
Step 3. Click on the trashcan button that appears against the credit card that you wish to delete
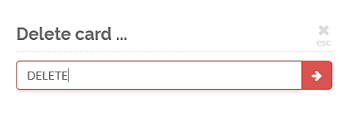
Step 4.Type DELETE in the textbox that is displayed and then click on the -> button
Setting a credit card as your default card
Step 1. Navigate to the App Settings screen as described above
Step 2. Click on the Payments Tab
Step 3. Mouse over the details of the card on the 'Payment Methods' tab that you wish to set as default

Step 4. Click on the 'Make Default' button that appears
Managing payments and billing information using the Billing Screen
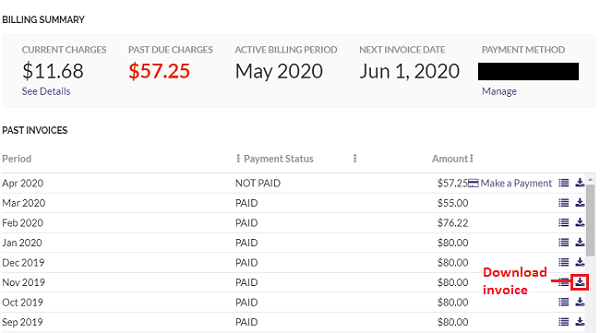
The Billing Screen consists of a billing summary at the top of the page and the details of past invoices listed below. From here you can review your billing details, download invoices, and make payments.
To get to the billing screen:
Step 1. Log in to your GoldFynch account
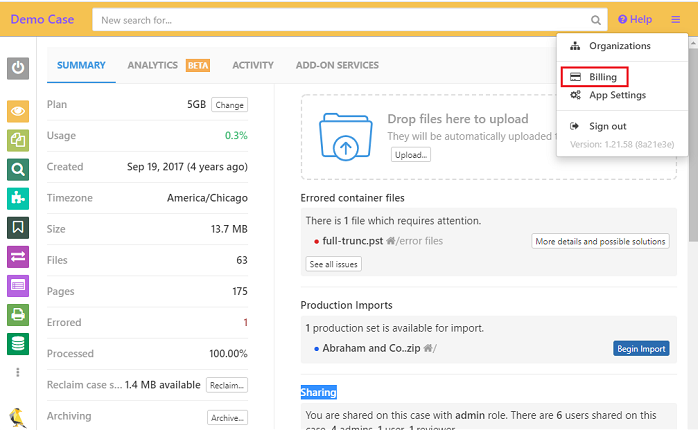
Step 2. Click on the Menu button in the top-right corner of your window
Step 3. Click on the Billing option
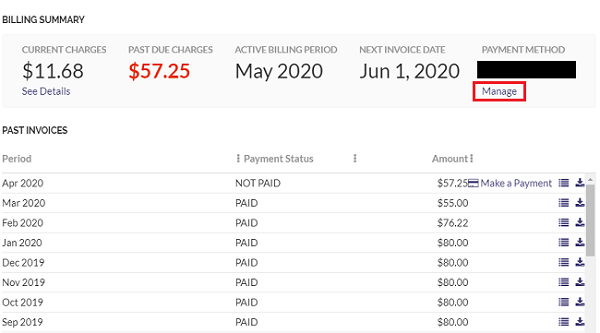
The billing summary displays the following information:
- Current Charges - You can view the details of the current charges by clicking on
See Details - Past Due Charges - The total of all unpaid invoices will be displayed in this field
- Active Billing Charges
- Next Invoice Date
- Payment Method - The default payment method you have selected
Note: To manage your payment methods, click on the "Manage" link found below the payment method on the Billing Screen. You will be redirected to the Payment Method tab of the App Settings screen.
Making a Payment
Step 1. Navigate to the Billing Screen as described above
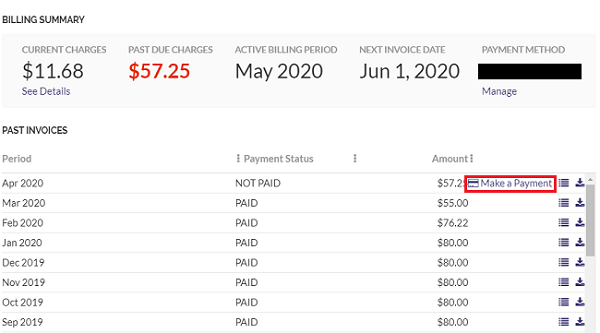
Step 2. Scroll to the month you wish to make a payment for
Note: Unpaid invoices will show a payment status of 'Not Paid'
Step 3. Click on 'Make a Payment'
Step 4. Select a credit card
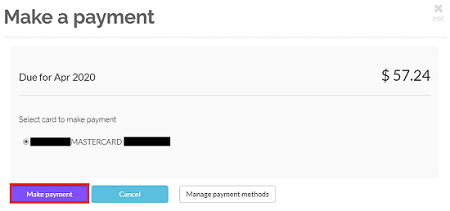
Step 5. Click on Make a Payment
A confirmation screen will be displayed when the payment is completed successfully:
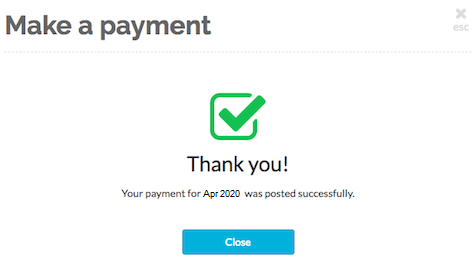
Under "Past Invoices" the "payment activity" for that month will have changed from "Not Paid" to "Paid."
Note:
- When you have a payment method set up, you will see a
Manage payment methodbutton during Step 4. This will take you to the "Payment Methods" tab of the App Settings screen. - If you don't have a payment method set up, during Step 4 you will instead see a button labeled
Add a payment method. This behaves in the same way, and takes you to the "Payment Methods" tab of the App Settings screen to add a credit card.
Viewing details of your invoice
Click the details icon to see billing details

The billing details screen overlay contains the case plan, charges and billing time period for each case. It also shows the total charges for your account and any adjustments that have been applied.
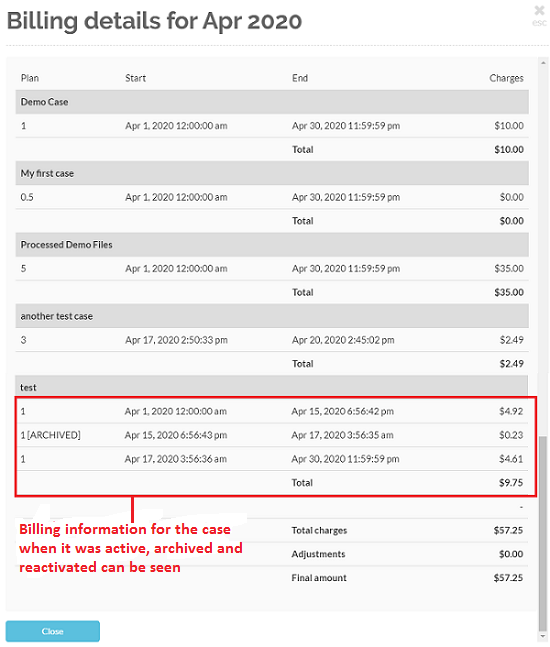
Note: If a case has been archived then the billing details will list one line item for when it was active and another for when it was archived. The last case in the image above shows a case that was active, archived and reactivated.
Downloading your invoices
Click on the download icon to download your invoice
End billing
GoldFynch accounts themselves are. Charges apply only for paid cases, add-on services and organizations. Additionally, the paid cases and organizations for which your account is the owner will be the only ones for which you will receive an invoice.
To end all billing, you will need to delete all paid cases and organizations for which your account is the owner. Your account will then receive a final prorated invoice at the end of the month for the days the cases and organizations were active, after which billing will cease.