Deleting container files (ZIP and PST files)
If you upload a ZIP or PST file, it is possible to delete the originally-uploaded file once the contents are extracted. To do so for individual container files, follow the steps below.
Alternatively, learn how to delete unnecessary top-level container files in bulk from across your case here.
WARNING
- Deleting of your uploaded container files is not recommended:
- You will no longer be able to download or natively produce the container file
- Each item extracted from the container will lose metadata information about which file it was extracted from originally
- We will be unable to re-extract the contents if an issue is discovered with the extracted contents (e.g. an improper filename encoding or missed metadata)
- Only attempt these steps once all 3 conditions below are satisfied:
- The uploaded file appears as a blue folder
- A 'View Container File' link beside it becomes visible
- The "processing" sign next to the container file disappears
Steps to Delete the container file
Step 1. Log into your account and access your case
Step 2. Navigate to the 'Files' view by clicking on the "Files" button in the left navigation panel
Step 3. (skip this step if your file has already been uploaded and extracted) Upload your files to GoldFynch (learn more about the upload process here) and wait for the extraction process to complete (i.e. all of the following occur):
- The uploaded ZIP or PST file appears as a blue folder
- The 'View Container File' link appears beside the (blue container) folder
- The "processing" sign next to the container file disappears
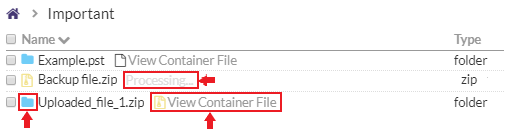
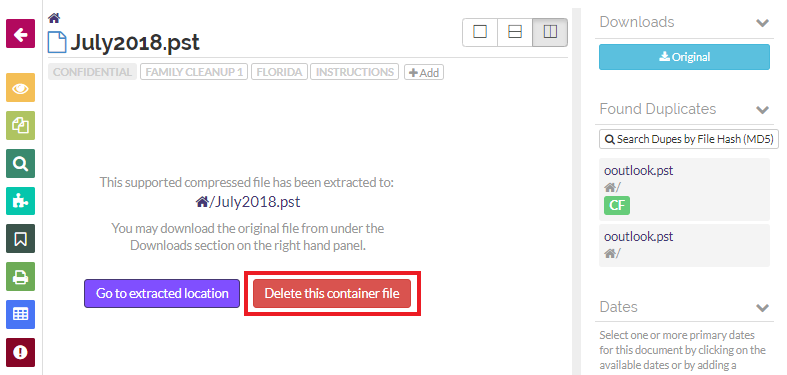
Step 4. Navigate to the location where you uploaded the file to and click on the 'View Container File' text. This will take you to the 'Docs' view of the originally uploaded file
Step 5. Click on the 'Delete this container file' button
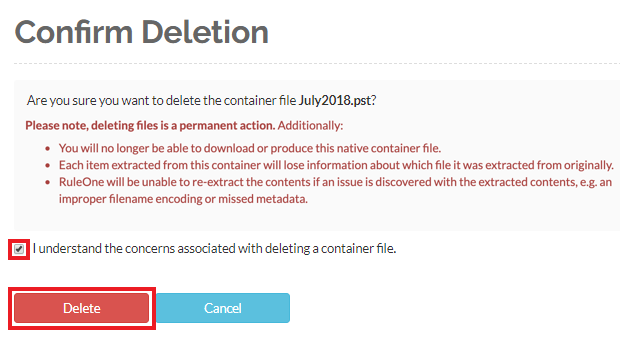
Step 6. Read through the warning message. If you still wish to delete the (originally-uploaded container) file, check the checkbox and click on the 'Delete' button
If you want to move the files instead, learn how to do so here.