Redact information
The ability to redact sensitive material in produced documents is a common eDiscovery requirement. GoldFynch has made it possible for you to redact information without breaking the flow of your document review by building the redaction tool right into its Document Viewer.
Text and images you redact will be blacked-out and unrecoverable in the final produced document (i.e., the document you give to opposing counsel). However, in your original file, the text will be visible and fully searchable.
Note: Documents added to the production in the 'native' format will not contain redactions (or Bates and Tag stamps) made to them after they were uploaded to GoldFynch. This is because 'native' files refer to the unedited files as they were when they were first uploaded to GoldFynch.
Marking content for redaction
Placing redaction boxes using the old document viewer layout
Step 1. Click on the Docs icon in the left navigation panel to open the Document Viewer.

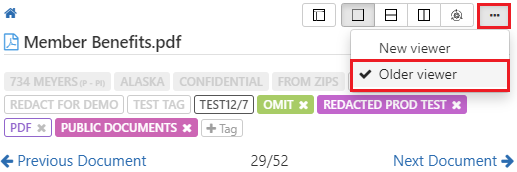
Step 2. Select the Older viewer option from the layout panel
Step 3. Scroll to the content you wish to mark for redaction.
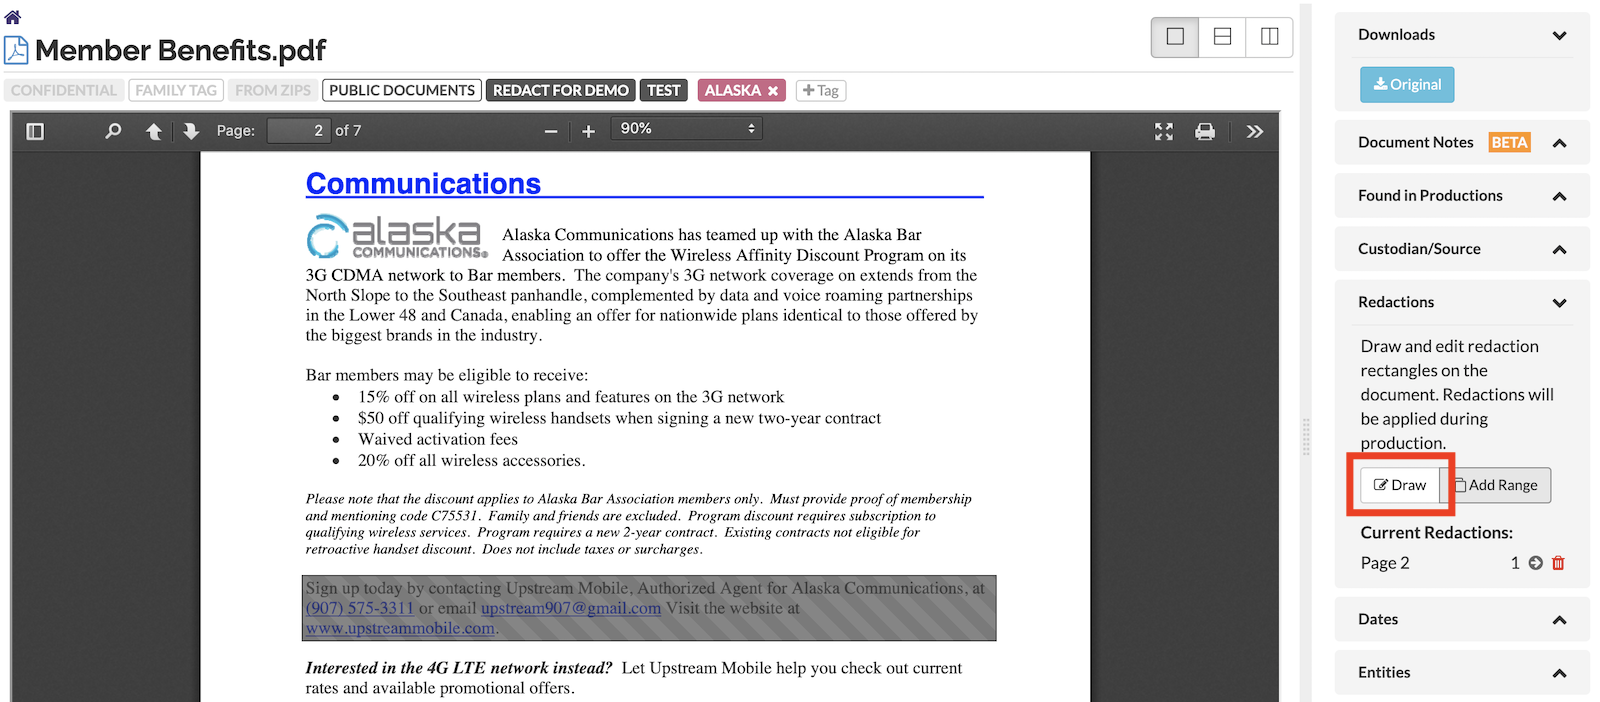
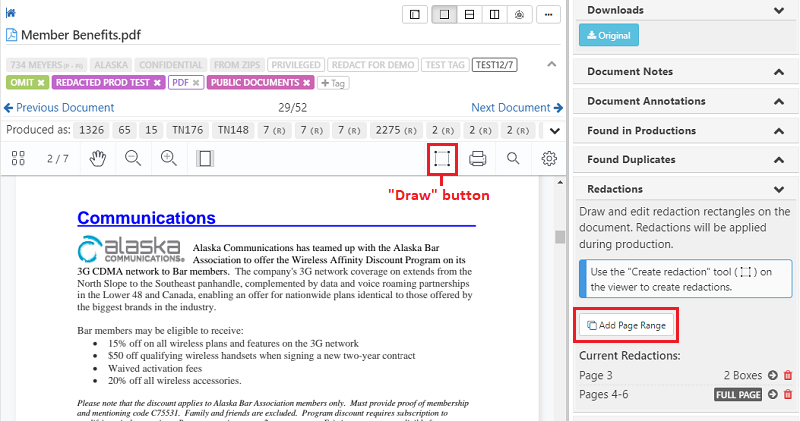
Step 4. Click on the Draw button in the right-side panel.
Step 5. Click, and drag the mouse cursor to draw a box over the content to be redacted. Repeat this for all the content in the document that you wish to mark for redaction.
Step 6. Click on the Stop Redacting button to save your redaction box placement.
Placing redaction boxes using the new document viewer layout
Step 1. Click on the Docs icon in the left navigation panel to open the Document Viewer.
Step 2. Select the New viewer option from the layout panel
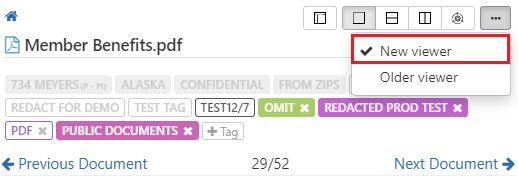
Note: The New viewer option is selected by default
Step 3. Scroll to the content you wish to mark for redaction.
Step 4. Click on the Draw button in the document viewer toolbar.
Step 5. Click, and drag the mouse cursor to draw a box over the content to be redacted. Repeat for all redactions you need to make
Redacting entire pages and page ranges
If you want to redact entire pages or a range of pages, you can just mark the pages that need to be redacted instead of drawing out redaction boxes on each page. These page-wise redactions are effectively identical to drawing a redaction box across the whole page, and as such will be affected by all options that affect boxes generated using the ‘Draw’ option (e.g. redaction box color, redaction mode, etc.)
Step 1. Click on the 'Docs' icon and scroll to the content you wish to redact just as you would when you place redaction boxes.
Step 2. Click on the Add Range button.
Step 3. Enter a single page number, a range of pages, or a combination of both in the text box that appears. Separate each of these with commas. Make sure you do not leave a space after each comma.
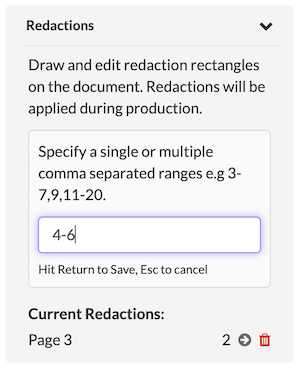
Step 4. Hit the Return key to save your redactions, or the Esc button to cancel the assignment.
Managing Redactions
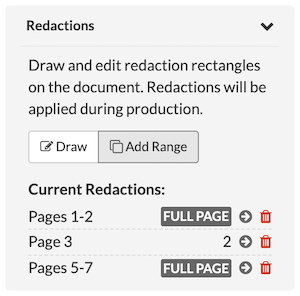
When a document is open in the Document Viewer, you can manage its redactions, with all current redactions listed under the 'Redactions' section in the right panel.
-
Full-page redactions will be marked as such, along with the range of redacted pages.
-
Pages with redaction boxes will be listed (e.g. Page 3 in the image above) and a number will be displayed against them - this is the number of redaction boxes placed on that page.
-
Click on the arrow next to a page or page range to immediately jump to that page/the first page of the range.
-
Click on the trashcan icon against a page number or page range to remove all redactions on that page or on in that page range respectively.
-
To remove a single redaction box -
-
when using the old document viewer layout, click on the
Drawbutton and then on theXbutton in the top-right corner of the redaction box. Click onStop Redactingwhen you are done. -
when using the new layout, click on the redaction box to be deleted, then click on the
Deletetext that appears above it
-
Applying Redactions during the production process
While producing files you can choose how you want to format the redactions that have been applied.
Selecting the Redaction mode
-
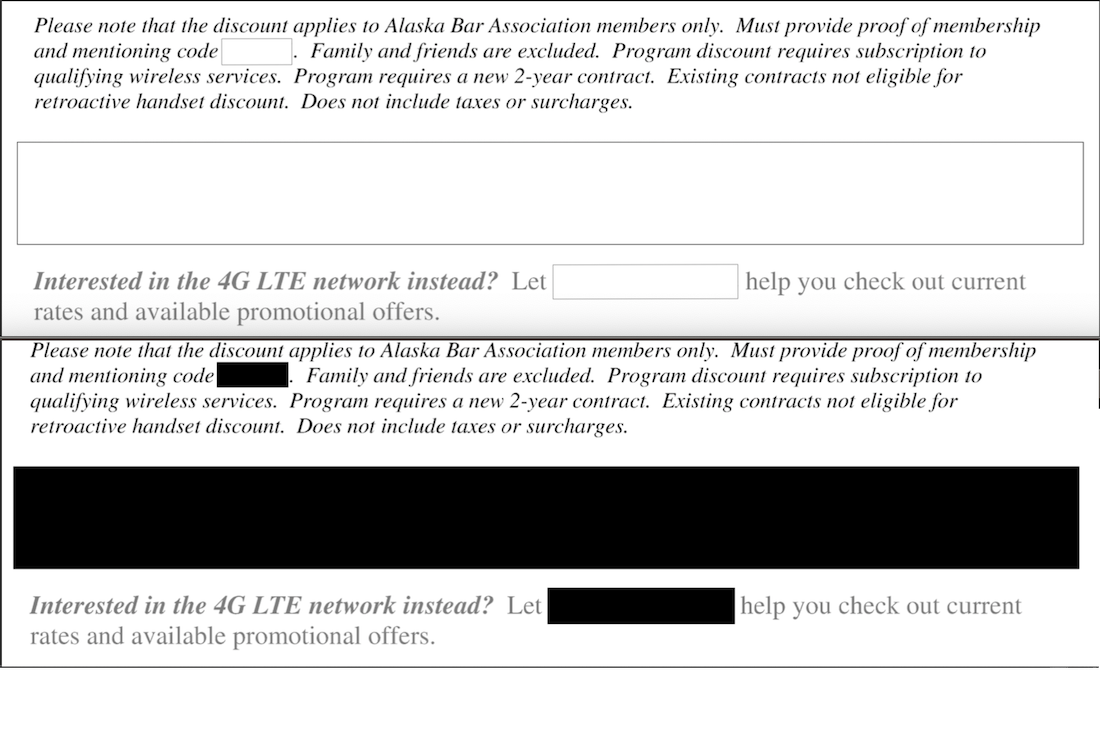
Final Mode will apply regular redactions to the final produced documents, removing all content that is placed under the redaction boxes. The boxes become opaque, and the content they cover becomes unreadable and unsearchable.
-
Preview Mode makes the boxes marked for redaction translucent in the final produced documents. The content they cover will remain visible and searchable for. (This option is usually used during an internal review as a way to denote what data would be removed if the file was produced using Final Mode redactions.)

Selecting the redaction box fill color
You can choose the color for the redaction boxes that will be applied to production.
-
Black boxes
-
White boxes with black borders
For Preview Mode redactions, the black and white redaction boxes will have their translucent equivalents.
Click here to learn more about redactions in the production process