Client Invoicing
Using GoldFynch's Bill Back feature, you can create entries for your clients and assign cases in the Organizations to them. You can then generate invoices directly using the case's billing amount, optionally adding custom fees/charges as a fixed amount or a percentage of the invoiced amount.
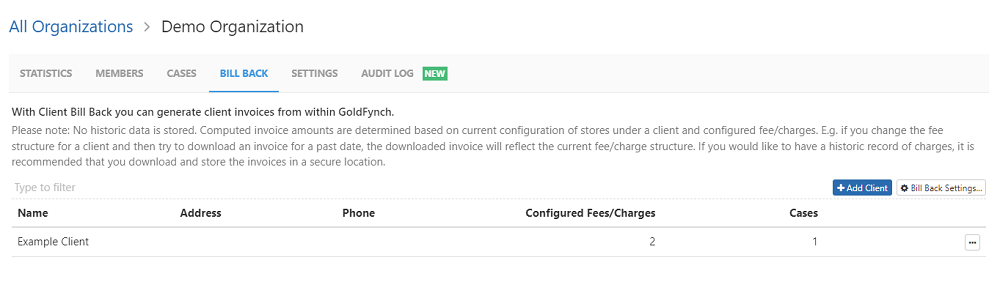
Adding a client
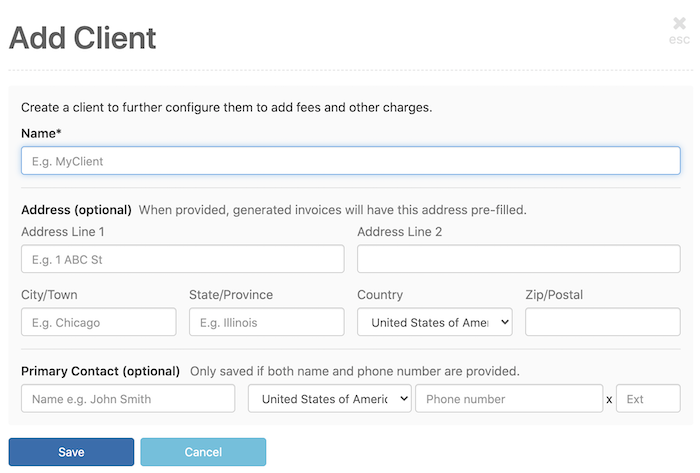
Step 1. On the Bill Back tab, click on the + Add Client button.
Step 2. Enter you client's details then click the Save button.
Managing client invoicing
Editing a client's details
Click on the Edit client settings button to edit any of the details you entered while creating the client's entry.
Assigning cases to a client
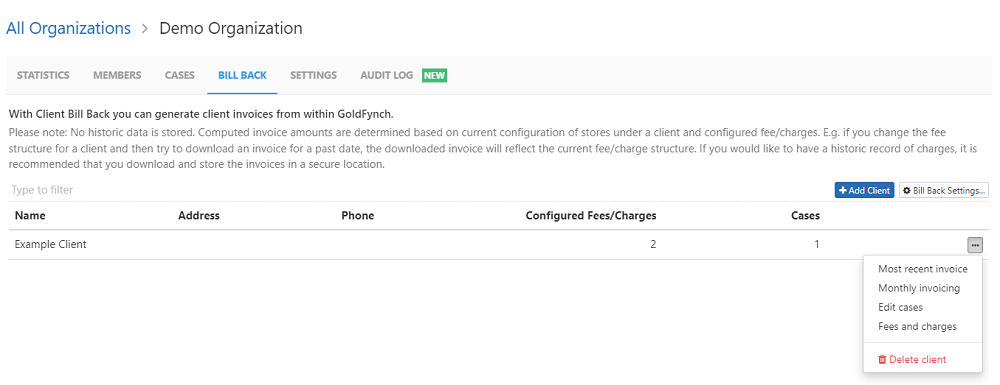
Step 1. On the Bill Back tab, click the ... button against the client
Step 2. Click on the Edit cases option in the pop-up menu
Step 3. Check the checkbox next to one or more cases
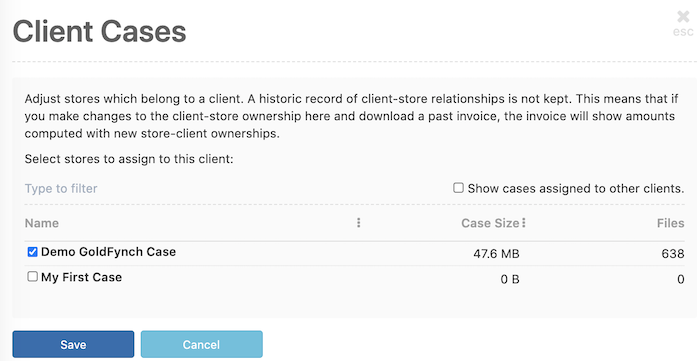
Step 3. Click on the Save button
Note: If you don't see any entries on this page, it means you have not added any cases to your Organization yet.
Viewing and downloading invoices
On the Bill Back tab, click on the ... button and then click on the Monthly invoicing option.
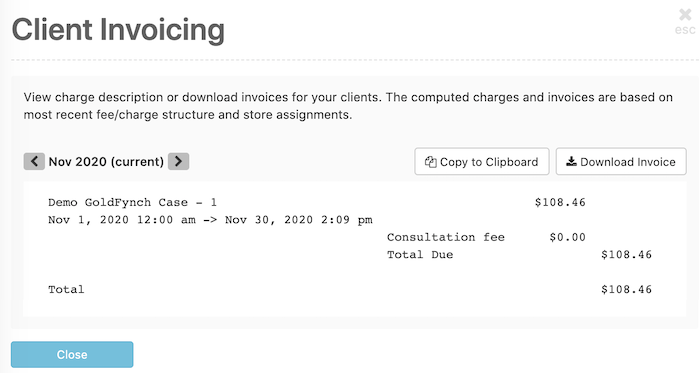
From here you can:
- Click on the
<and>arrows to scroll through monthly invoices - Click on the
Copy to Clipboardicon to copy a plain-text version of the invoice - Click on the
Download Invoicebutton to download a copy of the currently displayed month's invoice
Alternatively, you can download the latest month's invoice by clicking on the Most recent invoice option on the pop-up menu displayed in the billback tab.
Adding and managing custom fees/charges
Step 1. Click on the Fees and charges option in the pop-up menu
Step 2. Click on the Add Fee/Charge button
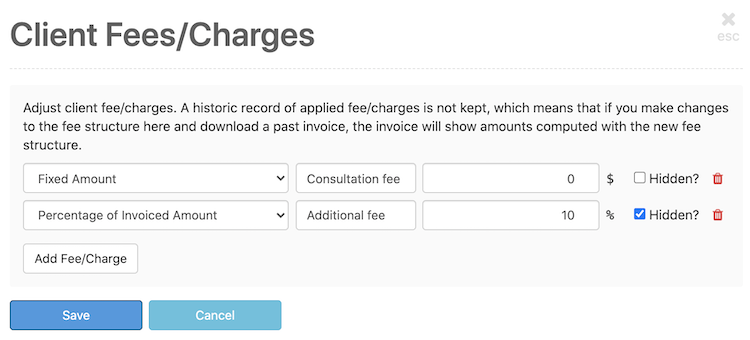
Step 3. From the drop-down menu, select either “Fixed Amount" or “Percentage of Invoiced Amount" - the “invoiced amount" here is the total billed amount of all the cases assigned to the client.
Step 4. (optional) In the text box against the entry, enter what the fee/charge is for. Enter a fee amount or percentage.
Step 5. (optional) If you want the fee/charge hidden, check the checkbox.
Step 6. Click the Save button when you complete your changes.
To delete a fee/charge entry, click on the trashcan icon.
Note: Editing or deleting a fee/charge will affect past invoices will make the same changes to any invoices of previous months that you view/download through the system
Bill back settings - adding Organization details
To add Organization details for your bill back invoices:
Step 1. On the Bill Back tab, click on the Bill Back Settings... button.
Step 2. Enter your details
Step 3. Click on the Save button
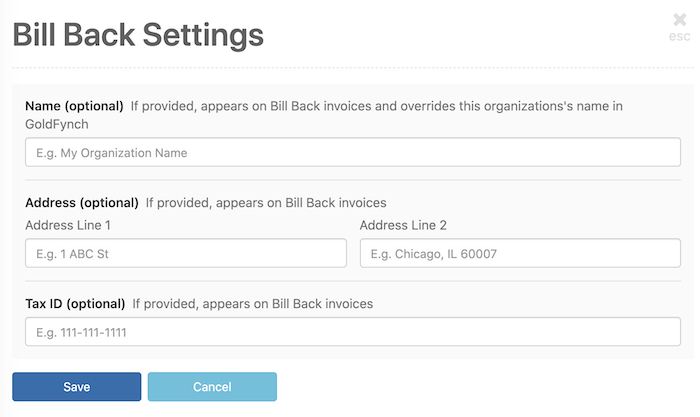
Note: Adding an Organization name in this manner will override the Organization's displayed name in GoldFynch.